Table of Contents
Affiliate Disclosure: This page contains affiliate links to products selected for practical fit. When you purchase through these links, we may earn a commission at no additional cost to you. Recommendations are based on product specifications, community feedback, and fit for common calligraphy needs. See our complete Tools Guide for detailed product reviews.
Wedding calligraphy timing matters more than you think. Most professional calligraphers book up 6-12 months in advance for peak wedding season (May through October), and the addressing process alone takes 3-4 weeks.
I've watched too many couples scramble at the last minute, trying to address 150 envelopes three weeks before their wedding while juggling final vendor meetings and dress fittings. The stress isn't worth it. According to the International Association of Master Penmen, Engrossers and Teachers of Handwriting (IAMPETH), proper calligraphy planning should start at least six months before your event.
This guide breaks down the realistic timeline, actual costs (not the fantasy numbers you'll see on Pinterest), and what you actually need to provide your calligrapher. Whether you're hiring a professional or attempting DIY calligraphy, you'll know exactly what to expect.
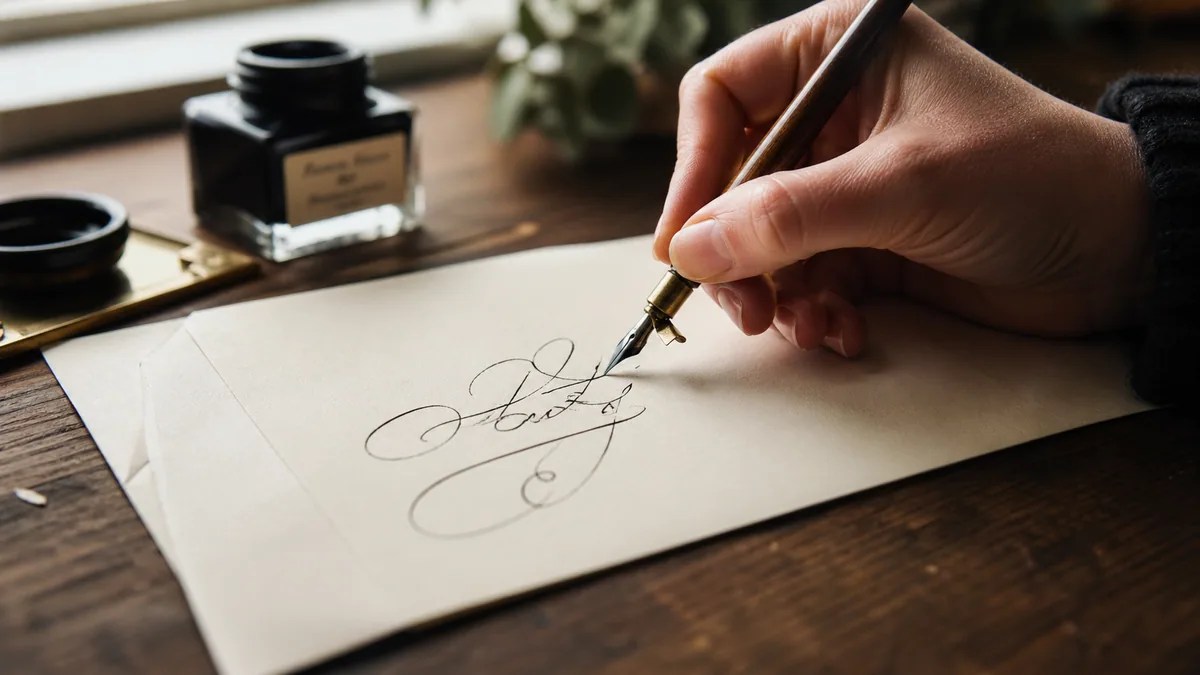
Master calligrapher Patricia Lovett, who has worked on official documents for the British Royal Family, notes that wedding calligraphy requires not just skill but also stamina and consistency. "Addressing 100+ envelopes to the same standard is a different challenge than creating a single beautiful piece," she writes in her book Calligraphy: A Practical Guide. The repetitive nature demands muscle memory and quality control that beginners often underestimate.
Before diving into timelines and pricing, you should understand the different calligraphy styles available. Copperplate (also called Engrosser's Script) is the traditional formal choice with its distinctive slanted letterforms and hairline flourishes. Modern calligraphy has a more relaxed, bouncy feel that works well for outdoor or casual weddings. Italic calligraphy offers classic elegance without the extreme slant of Copperplate. To see how popular wedding phrases like Mr & Mrs, Happily Ever After, and Save the Date look in 18 different cursive fonts, browse our popular words in cursive collection.
The 6-Month Wedding Calligraphy Timeline
This timeline is based on working with hundreds of couples and reflects real-world production schedules. Professional calligraphers need lead time for both their workload and your inevitable guest list changes (they always happen). Use our calligraphy practice calendar if you're planning to DIY any elements.
Research and Book Your Calligrapher
Top calligraphers fill their calendars 6-12 months out, especially for May through October weddings. If you're getting married in June, you should be booking in December or January. This isn't vendor-created scarcity—it's production reality. An experienced calligrapher can address about 25-30 envelopes per hour, meaning a 150-guest wedding requires 5-6 hours just for addressing, not counting signage and place cards.
Request Portfolio Samples
Ask to see actual wedding work, not just Instagram posts. Look for consistency across multiple envelopes, not just one perfect sample.
Discuss Style Options
Will the calligrapher work in your preferred style (Copperplate, modern, italic)? Some specialize in specific scripts. Review our comprehensive style guide before these conversations.
Set Your Budget Range
Typical full packages run $1,500-2,500. See the pricing section below for detailed breakdowns.
Review Contract Terms
Check revision policies, deposit amounts (typically 50%), and what happens if you need to make changes after production starts.
Finalize Details and Materials
This is when planning gets real. Your guest list should be 95% finalized (yes, a few stragglers will come later—plan for that). Most calligraphers will work with a preliminary list, but changes after production starts cost extra.
Compile Complete Guest Information
Full legal names with titles (Dr., Mr., Mrs., Ms., Mx.), complete street addresses, apartment numbers, and ZIP codes. Put it in a spreadsheet. Your calligrapher will love you for this.
Order Envelopes Early
Order 10-15% extra beyond your guest count. Standard invitation envelopes are A7 size (5.25" x 7.25"). If you want colored or textured envelopes, make sure your calligrapher tests ink compatibility first—some papers cause ink to feather or bleed.
Decide on Signage Wording
Welcome sign text, table identifiers (numbers vs. names of places meaningful to you), directional signs ("Ceremony →"). Get approval from your venue on sign placement and size restrictions.
Submit Guest List for Production
Addressing 150 envelopes takes 5-6 hours of focused work, but that doesn't include drying time between batches, quality checking, or corrections. Professional calligraphers typically quote 3-4 weeks for addressing to account for their other commitments and to build in buffer time.
Send Final Guest List
Use Excel or Google Sheets with columns: Full Names, Street Address, City/State/ZIP, Special Notes. Have at least two people proofread for spelling errors.
Ship Envelopes to Calligrapher
Pack them flat (don't fold), use a rigid mailer, and send with tracking. Include any color samples for ink matching.
Review First Samples
Your calligrapher should send photos of 2-3 completed envelopes for approval before doing the full batch. Check layout, style, and ink color.
Receive Envelopes and Order Day-Of Items
Quality Check Envelopes
Inspect every envelope. Check for smudges, spelling errors, and damaged pieces. Professional calligraphers replace mistakes at no charge—that's why you ordered extras.
Order Signage
Welcome signs (typically 18"x24" to 24"x36"), seating chart, table numbers or names, bar menu, and any directional signs. Discuss materials—acrylic, wood, paper—with your calligrapher based on your venue conditions.
Final Details After RSVP Deadline
Your RSVP deadline should be at least 3 weeks before the wedding to allow time for seating arrangements and final calligraphy items. This is why place cards are ordered last—you need confirmed attendance numbers.
Finalize Seating Chart
Complete after chasing down those last few stragglers who forgot to RSVP. Share the final layout with your calligrapher in whatever format works—spreadsheet, diagram, or list by table.
Order Place Cards
Place cards typically take 1-2 weeks. Order a few extras for last-minute additions or damaged cards. Preview tricky guest names in the cursive name generator before you approve samples, especially if the name has long descenders or repeated capitals. If you're having a more casual event, you might skip place cards entirely and just do a seating chart by table.
Order Menu Cards and Favor Tags (If Needed)
Menu cards are per guest or per table depending on your preference. Favor tags are optional—honestly, most guests don't notice them.
Realistic Wedding Calligraphy Pricing (2024-2025)
Wedding calligraphy isn't cheap, but understanding the actual labor involved helps explain the cost.
The numbers below reflect 2024-2025 rates from professional calligraphers in mid-size to large U.S. cities. Rural areas typically run 10-20% lower, while major metros (New York, San Francisco, Los Angeles) run 20-30% higher. According to The Knot's 2024 Real Weddings Study, couples spend an average of $1,800 on wedding stationery including calligraphy services.
Envelope Addressing
Real example: 150 invitations with both sides addressed = $525-900
Reception Details
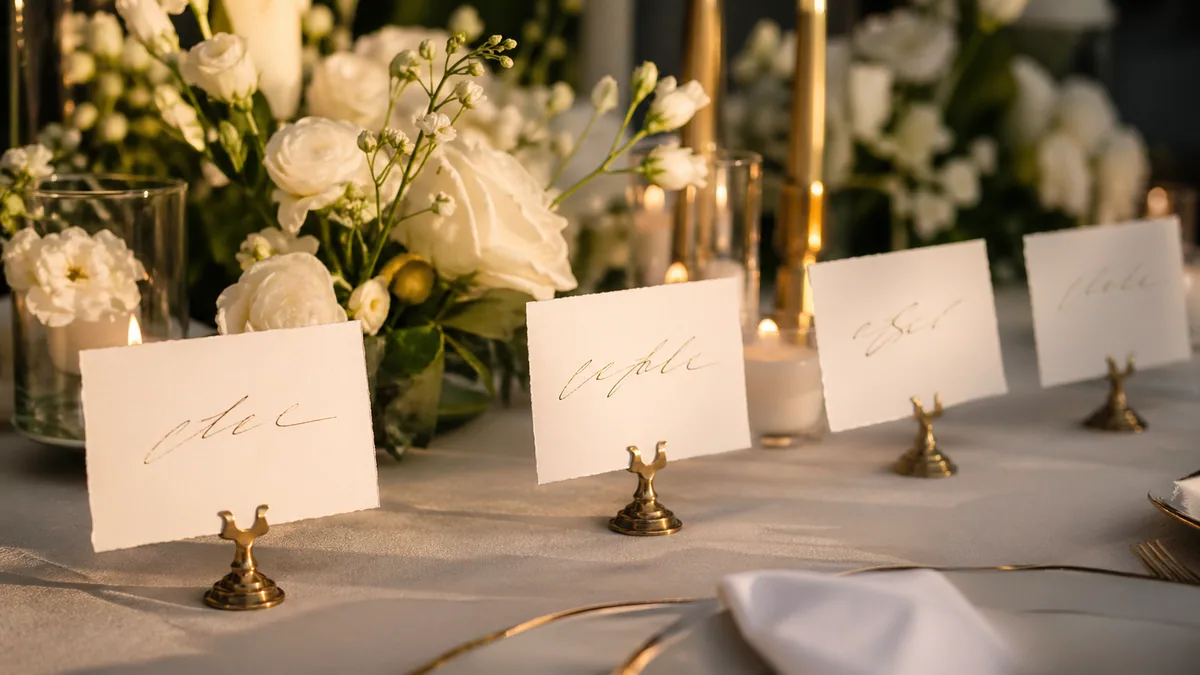
Real example: 150 place cards at mid-range pricing = $337.50
Wedding Signage
Large signage prices vary by material—paper, wood, and acrylic have different costs
Full Package Example
Pricing-at-a-glance: what drives each line item
Use this as a quick reference when you read a vendor quote. It maps how each piece is usually priced and the variables that push it up or down. Ranges shift by region and by the individual calligrapher, so treat the cost drivers — not a fixed dollar figure — as the takeaway. For a live low/mid/high estimate tailored to your counts, run the numbers through our wedding pricing calculator.
| Item | Typical pricing unit | Main cost drivers |
|---|---|---|
| Outer envelopes | Per envelope | Address length, ink color, envelope texture |
| Inner envelopes | Per envelope | Guest names, style complexity |
| Place cards | Per card | Quantity, card stock, layout |
| Escort cards | Per card | Table number, sorting, deadline |
| Small signs | Per sign | Surface, size, layout |
| Large signs | Per sign | Material, installation, custom artwork |
These are planning ranges, not universal market rates — pricing varies by region and by each calligrapher's experience and minimum order.
- •Skip return address calligraphy. Use printed return address labels or stamps instead. Guests care way more about the front of the envelope.
- •DIY the low-stakes items. Favor tags and thank you notes can be done after the wedding with zero time pressure. See our practice sheet generator to create custom worksheets.
- •Combine orders. Booking all your calligraphy with one person often gets you 10-15% off the total package.
- •Prioritize what guests actually see. Invitations, place cards, and welcome signs matter most. Bar menus and dessert table signs? Less critical.
Adjustable flange for precise pointed-pen work on envelopes and place cards. Buy this only if you are practicing Copperplate or modern pointed-pen lettering; broad-edge Italic does not need it.
See current priceWhat Your Calligrapher Actually Needs From You
Professional calligraphers have told me the same story dozens of times: couples submit guest lists with missing information, misspelled names, or incomplete addresses, then wonder why production is delayed. The more organized you are, the smoother the process goes.
Guest List Spreadsheet Format
Use Excel or Google Sheets with these exact columns:
Full Names with Titles
Examples: "Dr. Michael Chen & Dr. Sarah Chen" or "Mr. and Mrs. Robert Thompson" or "Ms. Jennifer Martinez and Guest"
Complete Street Address
Include apartment/unit numbers. Example: "2847 Pine Street, Apt 4B"
City, State, ZIP Code
Example: "Austin, TX 78701"
Special Notes (Optional)
International addresses, formatting requests, or corrections
Materials You Need to Provide
- •Envelopes: Order 10-15% more than your guest count (so 165-175 for 150 invitations). Most wedding invitation envelopes are A7 size (5.25" x 7.25"). If using colored or textured paper, have your calligrapher test ink first—some papers cause feathering.
- •Return Address: Your full return address exactly as it should appear on the back flap.
- •Inspiration Examples: Photos or links showing calligraphy styles you like. Pinterest boards work. Try our cursive generator to visualize different styles with your text.
- •Color Preferences: Ink colors—black, gray, gold, colored inks. For metallic accents on dark envelopes, professionals reach for pans like the Finetec Coliro Gold Watercolor Palette. Some calligraphers charge extra for metallic inks.
- •Signage Materials: If your calligrapher doesn't supply the boards/paper/acrylic, you'll need to provide them. Discuss dimensions first.
Gather these details before you reach out. Sending them up front gets you an accurate quote in one reply instead of a back-and-forth, and it mirrors the inputs in our wedding pricing calculator.
- •Final guest count.
- •Inner and outer envelope counts.
- •Place card or escort card counts.
- •Signage list with sizes (welcome sign, seating chart, menus).
- •Ink colors, including any metallics.
- •Paper or surface type for each piece.
- •Deadline and mailing date.
- •A style reference or example you like.
- •Extra envelopes or replacement cards you want on hand.
If you're curious what your calligrapher is actually working with—or planning to DIY a small batch yourself—the wedding-grade pointed-pen setup is remarkably consistent. Most professionals reach for a Oblique Calligraphy Dip Pen Nib Holder paired with a Nikko G Nib for crisp Copperplate hairlines, archival Winsor & Newton Calligraphy Ink Set for envelope work, and a Rhodia Dot Pad A4 for laying out client proofs before committing to the final stationery.
Spelling errors and address mistakes discovered after production starts cost $5-10 per correction, assuming your calligrapher can even fit you into their schedule. Most professional calligraphers require corrections to be batched and may have minimum fees.
Have at least two people review your guest list before submission. Check for: name spelling (including middle initials), proper titles, complete addresses with apartment numbers, correct ZIP codes, and proper formatting. It's worth the extra 30 minutes.
Hiring Professional vs. DIY: The Honest Breakdown
The decision isn't about skill level—it's about time, stress tolerance, and which elements actually matter.
According to research published in the Journal of Motor Behavior, developing consistent calligraphy motor patterns takes 40-60 hours of deliberate practice. Even if you have beautiful calligraphy skills, you're looking at 10-15 hours to address 150 envelopes as a proficient calligrapher, or 20-30+ hours as a beginner. That's time during the busiest planning period of your life.
Low-stress items where imperfections add charm or where you have time buffer:
- ✓Thank You Cards: Write these after your honeymoon. Zero time pressure, and the personal touch is more important than perfection. Practice with our custom practice sheets.
- ✓Favor Tags: Small, guests don't scrutinize them, and handmade imperfections are endearing.
- ✓Vow Books: Only you and your partner see these. Make them as messy and personal as you want.
- ✓Small Signage:8"x10" or smaller signs for things like "Cards & Gifts" or "Take One" for favors.
High-volume or high-visibility items where mistakes are stressful:
- ✗Envelope Addressing: 150+ repetitions, extremely time-consuming, high stress if you make mistakes. This is the #1 thing to outsource.
- ✗Place Cards: Need 100+ identical cards with consistent style. Errors affect seating arrangements on wedding day.
- ✗Large Signage: Welcome signs, seating charts—mistakes are highly visible. Large format is also technically harder (different tools needed).
- ✗Seating Chart: Created just weeks before wedding. If there are errors, you'll be fixing them on-site. Too stressful.
Time vs. Money Reality Check
Professional envelope addressing costs $600-900 for 150 invitations. DIY addressing takes 20-30 hours as a beginner. If your time is worth $30/hour to you (work you could pick up, projects you could complete, or just your sanity), DIY "saves" you $0-300 while costing you significant stress during peak wedding planning. Many couples who try DIY addressing end up hiring a professional halfway through after realizing the time commitment.
Common Mistakes That Cost Time and Money
These mistakes come up repeatedly in wedding planning forums and from professional calligraphers. Learn from others' experiences to avoid these common pitfalls that are outlined in our comprehensive mistakes guide.
Trying to book a calligrapher 2-3 months before a June wedding means you're getting whoever's available, not necessarily who you want. Peak season calligraphers book 9-12 months out. Book early or be flexible on style.
Mistakes happen—ink smudges, addressing errors, damaged pieces during shipping. Order 10-15% extra. If you need 150, order 165-175. Running out of matching envelopes mid-project is a nightmare.
"McDonnell" vs "McDonald," "Jonathon" vs "Jonathan," missing apartment numbers—these errors cost $5-10 each to correct after production starts. Have two people proofread your list before submission. Check the calligraphy terminology guide if you're unsure about formal addressing conventions.
Textured papers, colored envelopes, and certain cardstocks can cause ink to feather, bleed, or not dry properly. Always have your calligrapher test a sample first. Budget extra envelopes for testing.
"I'll just do the envelopes myself, how hard can it be?" Very hard when you realize 150 envelopes takes 20-30 hours and your wedding is in 6 weeks. Be realistic about your available time and skill level. Reference our structured practice guide if you're committed to DIY.
Does the quote include materials or just labor? Who provides envelopes, signage boards, place card stock? How many revisions are included? What's the policy on errors? Get this in writing before signing a contract.
Choosing Your Calligraphy Style
Calligraphy style should match your wedding formality and personal aesthetic. There are three main styles used for weddings, each with distinct characteristics and different levels of difficulty. For a deeper dive, see our complete calligraphy styles reference.
Best for: Formal ballroom weddings, black-tie events, traditional ceremonies
Copperplate is the most formal calligraphy style, characterized by its distinctive slant (52-55 degrees), delicate hairline upstrokes, and thick downstrokes created with a pointed pen. Developed in 18th century England, it was the standard script for official documents and formal correspondence.
This style requires significant skill to execute consistently—the contrast between thick and thin strokes demands precise pressure control. According to master penman Michael Sull (IAMPETH President Emeritus), Copperplate takes 100+ hours of practice to achieve consistency across multiple pieces. Most wedding calligraphers who offer true Copperplate have years of specialized training.
Best for: Garden weddings, outdoor ceremonies, rustic venues, contemporary celebrations
Modern calligraphy breaks many traditional rules—letters can bounce above and below the baseline, slant angles vary, and flourishes are more playful. The style emerged in the early 2000s as calligraphers began experimenting with more expressive, less rigid letterforms.
This is the most popular style for weddings today, partly because it's more forgiving for DIY attempts and feels more personal and contemporary. The relaxed structure means slight inconsistencies look intentional rather than like mistakes. That said, truly elegant modern calligraphy still requires strong foundational skills.
Best for: Museum weddings, library venues, academic settings, classic elegance
Italic calligraphy has Renaissance roots and a moderate 5-15 degree slant. It's less formal than Copperplate but more structured than modern calligraphy. The style is created with a broad-edge pen (flat nib) rather than a pointed pen, producing letterforms with distinctive thick horizontals and thin verticals.
Italic was championed by Edward Johnston in the early 20th century and remains popular for formal invitations. It's somewhat easier to learn than Copperplate because the broad-edge pen creates thick and thin strokes through angle rather than pressure. See our pen selection guide to understand different nib types.
Use our online cursive generator to see your names and addresses in different calligraphy styles instantly. Input "Mr. and Mrs. John Smith, 123 Oak Street" or your actual guest names to visualize how each style looks. You can also check our font pairing tool to see how calligraphy styles work with your invitation typography.
Try names, table numbers, and signage phrases in 18+ cursive styles, then download a custom worksheet to practice the look you love.