Affiliate Disclosure: This page contains affiliate links to products selected for practical fit. When you purchase through these links, we may earn a commission at no additional cost to you. Recommendations are based on product specifications, community feedback, and fit for common calligraphy needs. See our complete Tools Guide for detailed product reviews.
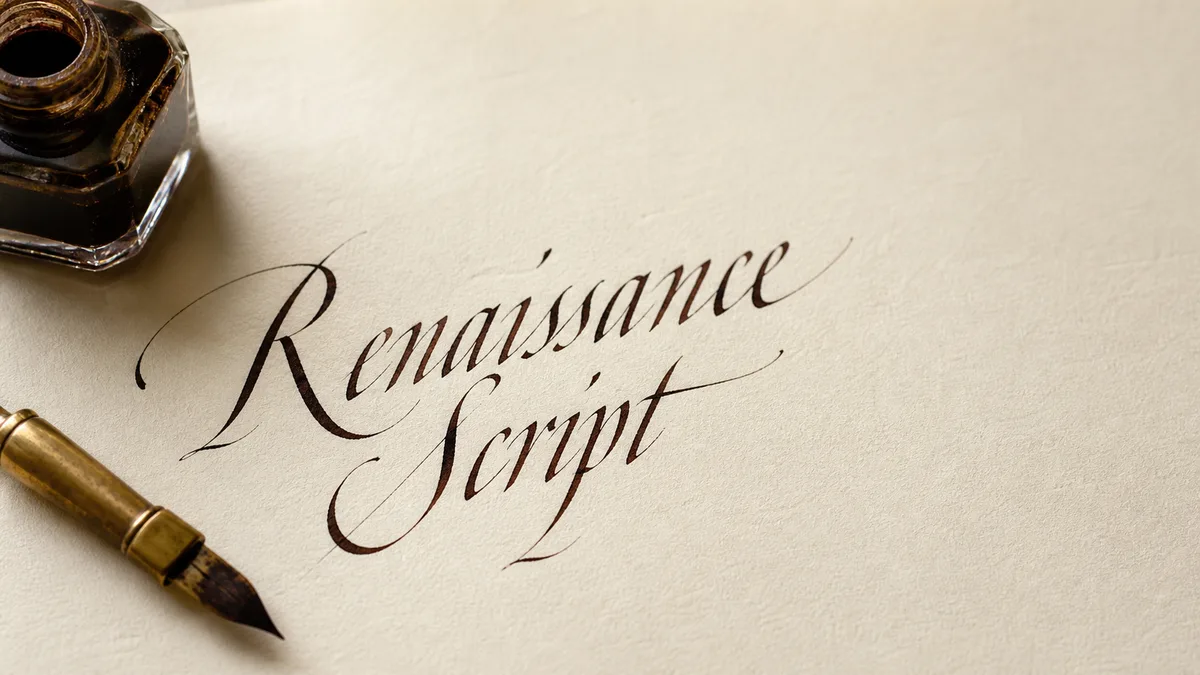
Italic calligraphy is the script most teachers point beginners toward. It produces wedding-quality lettering with a broad-edge nib, doubles as readable everyday handwriting, and gives recognisable results within a few weeks of consistent practice. Rooted in Renaissance Italy and originally called Cancelleresca, it sidesteps the fragility of pointed-pen work in favour of confident, crisp letterforms. If you're still mapping the field, our calligraphy styles guide shows where Italic sits relative to the formal pointed-pen scripts and the looser modern hands.
The History of Italic: From Vatican Scribes to Modern Classrooms
Italic calligraphy emerged in 15th-century Italy as a faster, more compact alternative to the elaborate Gothic scripts that dominated medieval manuscripts. Florentine scribe Niccolò Niccoli is credited with developing the first Italic hand around 1420, blending the readability of Carolingian minuscule with the speed demands of Renaissance bureaucracy.
By the early 1500s, Italic had become the standard script for papal chanceries—hence the name Cancelleresca (chancery script). In 1522, writing master Ludovico degli Arrighi published La Operina, the first printed instruction manual for Italic. Arrighi's exemplars set the standard: letters slanted 5–10° to the right, with pointed arches, minimal flourishes, and a rhythm that balanced elegance with legibility.
Today, Italic is taught by organizations like the Society for Italic Handwriting and the Society of Scribes & Illuminators. It's the first script most calligraphy courses teach because it requires only a broad-edge pen, doesn't demand extreme pressure control, and produces instantly recognizable results. If you've ever seen crisp, slanted lettering with triangular serifs, you were looking at Italic.
What sets Italic apart from pointed-pen scripts like Copperplate or Spencerian is its structural simplicity. Thick and thin strokes come from the angle of the broad-edge nib rather than from varying pressure, so the technical demand sits in maintaining a steady angle rather than in finger control.
Essential Tools for Italic Calligraphy
Italic is refreshingly low-maintenance. You need a broad-edge nib, a holder or cartridge pen, and paper. That's it.
Broad-Edge Nibs and Pens
Unlike pointed pens, broad-edge nibs have a flat, chisel-shaped tip that creates thick downstrokes and thin crossstrokes automatically. The nib is held at a consistent angle (typically 40–45° from the baseline for Italic), and the geometry does the rest.
Beginner-friendly options:
- Pilot Parallel Pen Set — The gold standard for modern Italic. These cartridge pens come in four nib widths (1.5mm, 2.4mm, 3.8mm, 6.0mm), require no dipping, and produce crisp, consistent lines. Start with the 2.4mm or 3.8mm for practice.
- Speedball C-series nibs — Classic dip-pen nibs with a square edge. The C-2 (medium width) is ideal for Italic practice. Pair with a straight pen holder and India ink.
- Brause 1.5mm or 2.0mm nibs — European broad-edge nibs beloved by professional scribes. They require more care (dip pens, ink management) but produce gorgeous, crisp edges.
- Lamy Joy fountain pen — A more affordable cartridge option with interchangeable nibs (1.1mm, 1.5mm, 1.9mm). Great for everyday Italic handwriting practice.
Ink and Paper
Pilot Parallels use proprietary cartridges, but if you're using dip pens, stick with India ink or sumi ink. Both flow well and dry quickly without feathering.
For paper, use smooth, non-absorbent sheets. Rhodia pads, HP 32lb laser paper, or Clairefontaine work beautifully. Avoid textured or porous paper—broad-edge nibs will catch on rough fibers and produce ragged edges.
Guidelines and Pen Angle
Italic demands consistent pen angle. Print guidelines with a 5–10° slant and use them religiously. The x-height (body of lowercase letters) should be 5 nib widths tall for Italic—so if you're using a 2mm nib, your x-height is 10mm. Ascenders and descenders extend 2–3 nib widths beyond the x-height. Not sure which broad-edge nib width to start on? Use our pen comparison tool to compare broad-edge nibs side-by-side, then build a matching guideline sheet in the practice sheet generator.
The Italic Alphabet: Arches, Slant, and Serifs
Every Italic letter is built from a few foundational strokes: the vertical downstroke, the branching arch, and the diagonal exit serif. The script's geometry is forgiving but specific:
- Slant angle: 5–10° to the right. Some scribes write vertical Italic (Foundational Hand), which is equally valid.
- Pen angle: 40–45° from the baseline. Hold the nib so the thin edge points toward 2 o'clock (for right-handers). This angle is non-negotiable—it's what creates the thick/thin contrast.
- Letter width: Italic is compressed—letters are narrower than they are tall. The lowercase o is an ellipse, not a circle.
- Arches: Letters like n, m, h, b branch from the stem about two-thirds up the x-height, creating a pointed, springy arch. This is the signature Italic shape.
Lowercase letters are divided into families:
- Straight letters: i, l, t — simple vertical downstrokes with entry/exit serifs.
- Arched letters: n, m, h, r — vertical stem with branching arch.
- Round letters: o, c, e — elliptical bodies based on the Italic o.
- Descenders: g, p, q, y — bodies on the baseline with tails extending below.
- Ascenders: b, d, f, k, l, h — stems extending above the x-height.
Capitals are less standardized—some scribes use Roman Capitals (vertical, geometric), while others use slanted Italic Capitals with more cursive flourishes. Both are authentic.
For a comprehensive breakdown of letter anatomy, see our calligraphy alphabet guide.
How to Practice Italic: Master the Pen Angle First
Italic is the most pen-angle-dependent script in calligraphy. If your angle drifts, your thick/thin contrast disappears and letters look wonky. Here's the practice hierarchy:
- Pen angle drills: Draw parallel vertical lines at 40–45° pen angle, filling entire pages. Your goal: every line the same width, with crisp, sharp edges. This is not glamorous, but it's foundational. Do 500 lines before attempting letters.
- Ladder strokes: Draw a series of vertical downstrokes at consistent spacing, like rungs on a ladder. Then add horizontal crossbars to create a grid. This drill builds muscle memory for consistent pen angle and spacing.
- The Italic o: Practice elliptical o forms until you can draw 20 identical ovals in a row. The Italic o is the DNA of round letters (a, c, d, e, g, q).
- Branching arches: Practice the n stroke—vertical downstroke, lift, branch from two-thirds up, curve into a second downstroke. The branch point and arch height are what make Italic look like Italic.
- Letter families: Once your arches are consistent, practice letters in groups—straight letters first, then arched letters, then rounds, then ascenders/descenders.
Use our practice sheet generator to create custom Italic guidelines with the correct x-height and slant. Aim for 20–30 minutes of daily practice. Italic rewards consistency more than marathon sessions.
Common Italic Mistakes (and How to Fix Them)
Even experienced calligraphers trip over these Italic pitfalls:
1. Pen Angle Drift
If your thick strokes are inconsistent or your letters look lopsided, your pen angle is drifting. Solution: Use the tape trick above, or draw reference angle guides in light pencil at the top of your practice page. Check your angle every 5 letters.
2. Round Letters Instead of Ellipses
If your o looks like a circle, you're writing too wide. Solution: Compress your letters. Italic letters are narrower than they are tall—the o should fit inside a rectangle, not a square.
3. Low Branching Point on Arches
If your n, m, h look like Gothic script or your arches feel heavy, you're branching too low. Solution: Branch from two-thirds up the stem, not halfway. The high branch point creates Italic's springy, light arches.
4. Inconsistent Slant
If your letters lean in different directions, you're either not using guidelines or you're rotating your paper mid-word. Solution: Use printed slant guidelines and keep your paper stationary. Rotate your shoulder angle, not the page.
For more troubleshooting, check our common calligraphy mistakes guide and advanced techniques breakdown.
Related Scripts and Further Learning
Once you've mastered basic Italic, you can explore its vertical cousin, Foundational Hand (Edward Johnston's unslanted Italic), or dive into more ornate broad-edge scripts like Gothic/Blackletter or Uncial. For a broader survey, see our calligraphy styles guide.
Italic also serves as a gateway to pointed-pen scripts—once you've internalized consistent slant and rhythm in Italic, transitioning to Copperplate or Spencerian becomes much easier. If you'd rather stay in the looser modern lane, compare it with modern calligraphy, monoline calligraphy, and faux calligraphy. And if you're interested in adapting Italic for everyday use, see our calligraphy vs. hand lettering breakdown for tips on speeding up the script.
For those building a structured practice routine, our stroke practice drills and monthly challenges calendar will keep you accountable.
Recommended Italic Calligraphy Tools and Supplies
Ready to start your Italic journey? This starter kit is the conversion-ready bundle for the script — Pilot Parallel pen, traditional broad-edge nibs, walnut ink, and dot-grid practice paper. From here, head back to the calligraphy styles hub to pick your next script.