
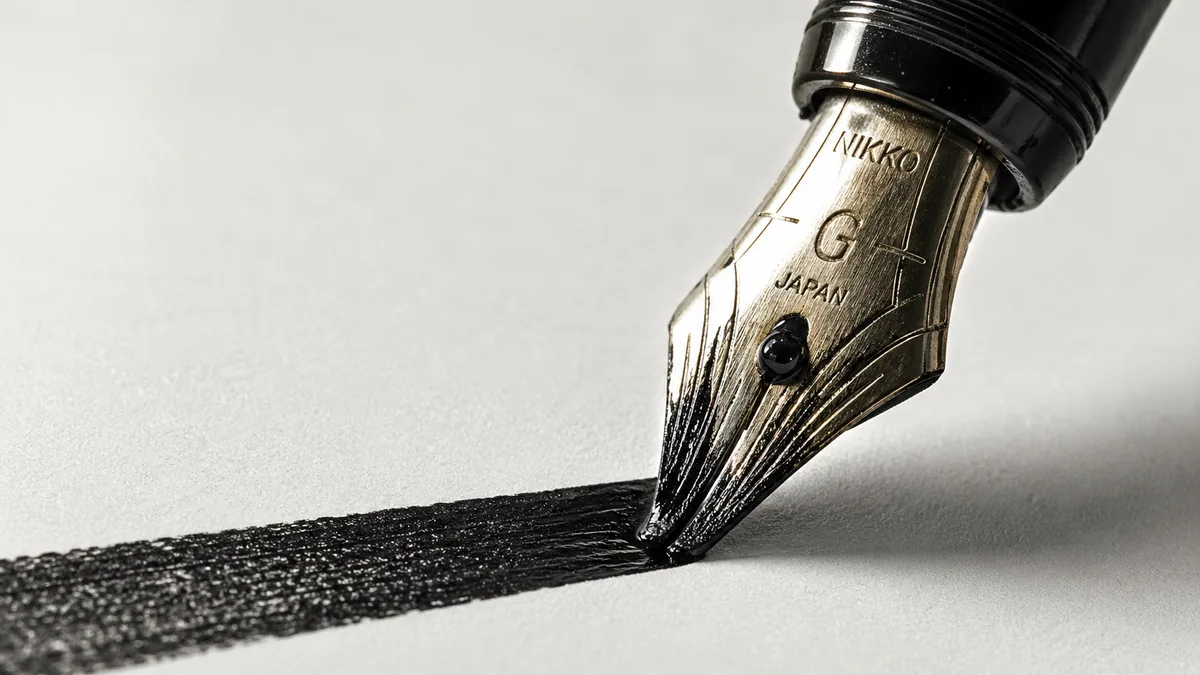
Hold the pen securely without squeezing, support your writing position, and turn the paper until the nib can travel along the intended stroke. For a pointed dip nib, check that both tines meet the paper evenly before adding downstroke pressure.
A grip is useful when it lets you repeat a mark comfortably. It does not need to match a photograph finger for finger. This lesson is a hands-on setup check, not another shopping list; use the pen-holder buying guide if you need to choose hardware. If you have not identified your nib, the nib guide explains the difference between pointed and broad edges.
Arrange the desk before changing your fingers
Put the page where you can see the nib without leaning around your hand. Bring the chair close enough that you are not reaching across the desk. Choose a supported seat and a working height that lets your shoulders settle. Rest the non-writing hand on a dry part of the sheet to stop it sliding. Move the ink container out of the path of your sleeve.
Start on smooth practice paper with a clean nib and familiar ink. Feathering or a nib that refuses to start can look like poor control. Check the paper guide and ink guide before blaming your hand. A few spare sheets under the page give a more forgiving surface than a bare tabletop; keep them flat.
Find a relaxed, stable hold
- Begin without ink. Rest the holder against the middle finger and let the thumb and index finger steady it. Leave enough distance from the nib to see its contact with the page.
- Loosen the fingertips, then add only enough grip to prevent slipping. Do not force the index finger into a straight or sharply bent shape. A familiar grip can be a reasonable starting point.
- Set the nib on paper without pressing. Adjust the holder's elevation until the writing surface meets the sheet rather than stabbing it. There is no single elevation for every nib.
- Make a short uninked movement, then lift. Check that you can reposition the pen without clenching. Ink the nib only when the movement feels manageable.
Small details may use finger movement; longer strokes may need your hand and forearm to travel. Avoid pinning the wrist in place and stretching the fingers to reach every part of a word. Shift the sheet instead. The beginner guide puts these movements into a first practice session.
Align a pointed nib with its downstroke
Look from above. The nib's central slit should follow the direction of the shaded pull, rather than crossing it sideways. Draw a short, light downstroke first. Then try a modest shade. If one tine digs in, lift and adjust the page or holder; do not twist a loaded nib against the paper to rescue the stroke.
Keep three angles separate: letter slant on the page, the holder's elevation above the desk, and a broad nib's edge angle to the baseline. A slanted script does not mean holding the pen that many degrees above the desk. See Copperplate for a specific script model rather than applying one slant to all calligraphy.
Before inking, check that the nib is seated securely using the holder's fitting instructions. With an oblique, judge alignment by the nib itself, not the wooden or plastic handle beside it. If the nib rocks or the flange holds it tilted onto one tine, fix the fit rather than tightening your grip.
Right-handed and left-handed setups
For right-handed writers
Begin with the sheet in front of your writing side. Rotate it in small steps while testing the same downstroke until the nib axis and pull agree. A straight holder can work; an oblique holder can help align a pointed nib for slanted scripts. Do not compensate for an unsuitable flange by rolling the whole holder until one tine lifts.
For left-handed underwriters
If your hand sits below the writing line, start with a straight holder and adjust paper rotation for an even pull. Many left-handed writers can find that alignment without an oblique. Check that your hand stays clear of fresh ink and that the nib remains visible. The left-handed calligraphy guide covers alternatives in more detail.
For left-handed sidewriters and overwriters
If your hand travels beside or above the line, first move the page to improve visibility and keep your wrist comfortable. Test dry movements before ink. Do not force an underwriting position in one sitting. An oblique holder must suit your hand and nib; a right-handed flange is not automatically suitable. Use a guard sheet only over dry work, never as permission to drag a hand through wet lettering.
Adapt the hold to a brush or broad edge
A brush pen needs room for the tip to bend on downstrokes without being crushed. A broad edge needs both corners in contact for a full-width stroke; its contrast mainly comes from edge angle and direction, not pointed-pen pressure. Compare brush lettering strokes with italic calligraphy. A fountain pen's broad nib should not be forced to flex.
Run a five-minute setup check
Print a roomy guide with the practice-sheet tool. Make five light pulls, five controlled downstrokes and five open curves, lifting between each. Use stroke practice for the shapes. If you are checking slant, compare with one chosen model; the cursive generator is useful for visual reference, not a physical nib-angle simulator.
Inspect the starts and ends. Scratching suggests checking contact and direction; ink starvation suggests checking preparation and flow. Uneven shades suggest checking alignment before adding pressure. Change one thing, repeat the same row, and keep the clearer result. Add a short reminder to the practice calendar: reset the page and loosen the grip before the next line.
Sources and further instruction
Renee at Crossroads Calligraphy discusses supported positioning, movement and a relaxed hold in A Better Pen Hold for Better Calligraphy. Mathilda Lundin's beginner tools guide describes straight and oblique holder choices, including left-handed preferences. These are teaching references, not endorsements of this page or evidence that one grip suits everyone.